DIY Duct Cleaning (8 Tools, Steps & Common Mistakes)
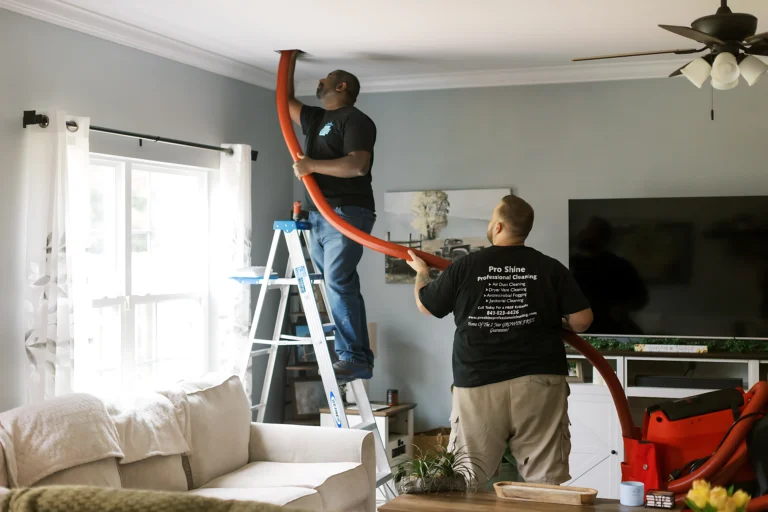
Keeping your home’s air quality high and your HVAC system running smoothly is essential for comfort and health. One effective way to maintain this is through diy duct cleaning. Many homeowners consider taking on duct cleaning themselves to save money and gain control over their indoor environment. However, doing so correctly requires knowledge, the right tools, and awareness of common pitfalls. If you want to explore professional assistance alongside your own efforts, checking out reliable air duct cleaning services can provide a valuable reference.
- Understand why cleaning your ducts matters for air quality and efficiency
- Get to know the essential tools needed for effective DIY duct cleaning
- Learn a step-by-step approach to cleaning your ducts safely and thoroughly
- Identify frequent DIY mistakes that can limit results or cause damage
- Discover how routine maintenance complements deep cleaning efforts
Why DIY Duct Cleaning Is Important

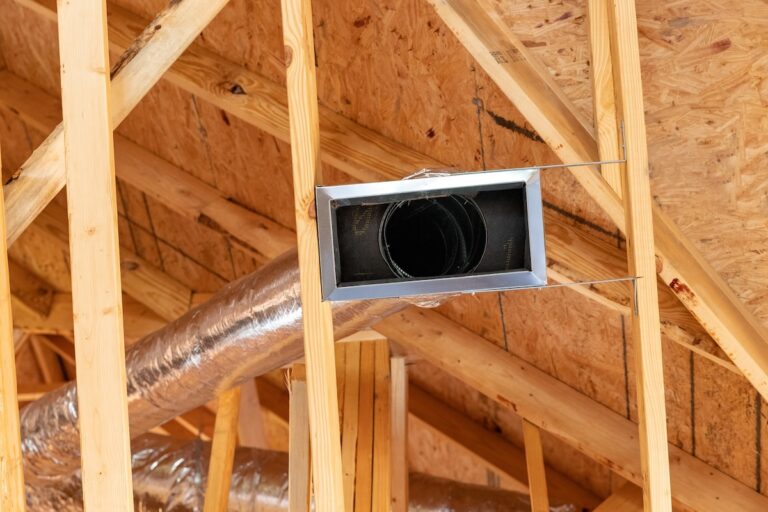
DIY duct cleaning can significantly improve your home’s comfort and air quality. Over time, dust, mold spores, pet dander, and other debris accumulate in your heating and cooling system’s ducts. This build-up can affect how efficiently your HVAC system operates and may introduce allergens into your breathing environment.
By taking control with a do-it-yourself approach, you gain:
- Improved Air Quality: Removing dust and allergens reduces respiratory irritants and enhances overall wellness.
- Increased System Efficiency: Clean ducts allow air to flow more freely, potentially lowering energy bills.
- Extended Equipment Life: Keeping ducts clear reduces strain on your HVAC system’s components.
- Reduced Odors: Accumulated debris can cause musty smells, which duct cleaning helps eliminate.
- Cost Savings: Avoiding expensive professional cleanings or preventive repairs by regular maintenance.
8 Essential Tools for Successful DIY Duct Cleaning
To tackle duct cleaning on your own, assembling the right tools upfront makes the job safer and more effective. Below are several must-have items to get started.
1. Vacuum Cleaner with a Long Hose Attachment
A high-powered vacuum cleaner, preferably a HEPA-filter model, is key for suctioning dust and debris deeply from ducts.
Ensure the hose length is sufficient to reach the far ends of the duct system.
HEPA filters help trap fine allergens released during cleaning.
2. Stiff-Bristled Brush or Duct Cleaning Brushes
Scrubbing debris stuck to duct surfaces requires a stiff brush designed for ductwork.
Brushes with extendable handles are helpful for reaching inside vents and ducts.
Wire brushes can be effective but should be used cautiously to avoid damage.
3. Screwdrivers and Flashlight
You’ll need screwdrivers to remove vent covers or grilles and a flashlight to inspect inside ducts.
Proper lighting helps reveal dust buildup and potential issues like mold growth.
4. Microfiber Cloths and Cleaning Solutions
Wiping surfaces clean after brushing improves overall results.
Use mild detergent or specialty duct cleaners, and avoid harsh chemicals that could damage duct material or leave residues.
5. Protective Gear
Safety matters. Wear gloves, goggles, and a dust mask or respirator to protect against dust, debris, and allergens during the process.
6. Extension Rods or Flexible Cleaning Wands
Extension rods allow you to reach deeper into ductwork without overextending yourself.
Flexible wands are especially useful for navigating bends and tight areas within the system.
7. Drop Cloths or Plastic Sheeting
Placing drop cloths around vents and work areas helps contain dust and debris.
This makes cleanup faster and prevents particles from spreading throughout your home.
8. Sealable Trash Bags or Debris Containers
Having sturdy, sealable bags nearby allows you to dispose of dust and debris immediately.
This reduces airborne particles and keeps the workspace cleaner as you move from vent to vent.

Step-by-Step DIY Duct Cleaning Process
Follow these steps in order to clean your air ducts thoroughly and safely:
1. Prepare Your Workspace
Before you begin, turn off your HVAC system to avoid unintentional dust distribution or harm.
- Cover floors under vents with drop cloths or old sheets.
- Remove vent covers or registers carefully using appropriate screwdrivers.
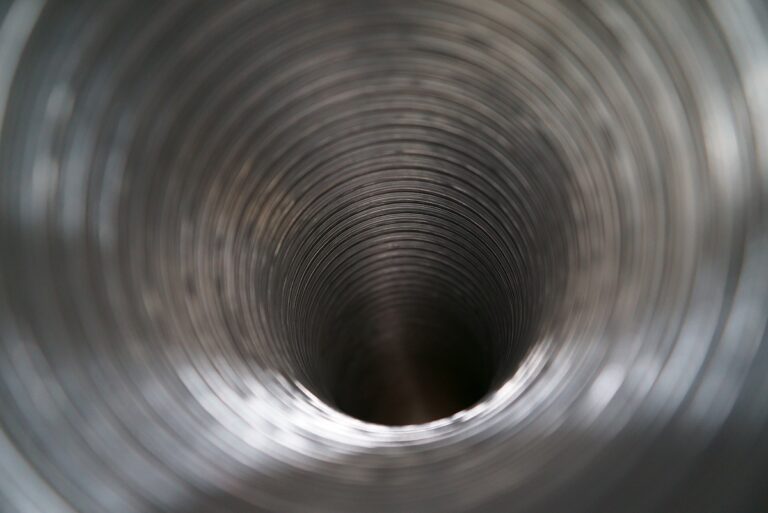
2. Inspect Your Ducts
Use your flashlight to peer inside the ducts and note the amount and type of debris present.
- Look for signs of mold, pests, or damage that may require professional attention.
3. Vacuum the Ducts
Insert the vacuum hose into the duct and suction out loose dust and contaminants.
- Move the hose slowly to pull out embedded dirt.
- Use attachments to navigate bends and narrow sections.
4. Brush the Interior Surfaces
Insert the stiff brush next, scrubbing along duct walls to loosen stubborn debris.
- Be gentle to prevent damage to duct liners or metal surfaces.
5. Vacuum Again
Follow up with another vacuum session to remove dust dislodged by brushing.
6. Clean and Replace Vent Covers
Wash vent covers with mild soap and water, dry thoroughly, then reinstall.
7. Final Inspection and System Restart
Check that everything is securely in place before turning your HVAC system back on.
Common Mistakes to Avoid When Doing DIY Duct Cleaning
Although DIY duct cleaning can be beneficial, some common errors limit effectiveness or cause problems. Avoid these missteps to ensure success.
Overlooking Mold or Pest Infestations
Ignoring mold or signs of rodents can worsen problems. Professional intervention may be needed for these issues.
Using Improper Tools or Techniques
Cleaning with inadequate vacuums or harsh brushes can leave debris behind or damage ducts.
Failing to Seal Duct Access Correctly
Not sealing vents properly after cleaning can allow dust to enter the living space or cause system leaks.
Neglecting Routine Maintenance
Duct cleaning is most effective when combined with regular filter changes and HVAC upkeep.
Attempting to Clean Entire System at Once
Trying to clean all ducts in one day may lead to rushed, incomplete work. Spread tasks out systematically.
Maintaining Clean Ducts Beyond Deep Cleaning

Deep cleaning is crucial but best paired with ongoing maintenance steps to keep your air ducts in good shape.
- Replace HVAC Filters Regularly: Change your air filters at least every three months to reduce debris passing into ducts.
- Schedule Professional Inspections: Annual or biannual HVAC inspections help identify issues early and maintain duct cleanliness.
- Use Air Purifiers: Supplement your duct cleaning with air purifiers to remove airborne particles and maintain fresh indoor air.
- Keep the Home Clean: Regular dusting and vacuuming reduce the amount of dust entering your ducts via vents.
- Monitor Humidity Levels: Keeping indoor humidity between 30-50 percent can prevent mold growth in ducts.
The Next Step to DIY Duct Cleaning
Taking on diy duct cleaning can be a rewarding project that improves your home’s air quality and HVAC efficiency. Armed with the right tools, a clear step-by-step approach, and awareness of common mistakes, you can maintain a healthier environment for your family. If you want professional guidance or deeper cleaning, consider expert contact us today to learn more about comprehensive air duct cleaning solutions available for your home.
Clean Air Is Just A Call Away!