How To Use Dryer Vent Cleaning Kit? (5 Essential Tools)
A clogged dryer vent can do more than slow laundry day. It can waste energy, wear out your appliance, and even create a serious fire risk. Many homeowners try using a dryer vent cleaning kit as a quick DIY solution, but these kits often fall short, especially in longer or more complex duct systems. Still, they can be useful for light maintenance between professional cleanings. If you want a stronger alternative to compare your DIY results with, you can explore this helpful dryer vent guide.
Here’s what you’ll learn in this guide:
- Why dryer vent cleaning matters for safety and efficiency
- What’s included in most cleaning kits
- Step-by-step instructions for using a kit
- Why DIY tools are limited in effectiveness
- When to call a professional instead
Why Regular Dryer Vent Cleaning Is So Important

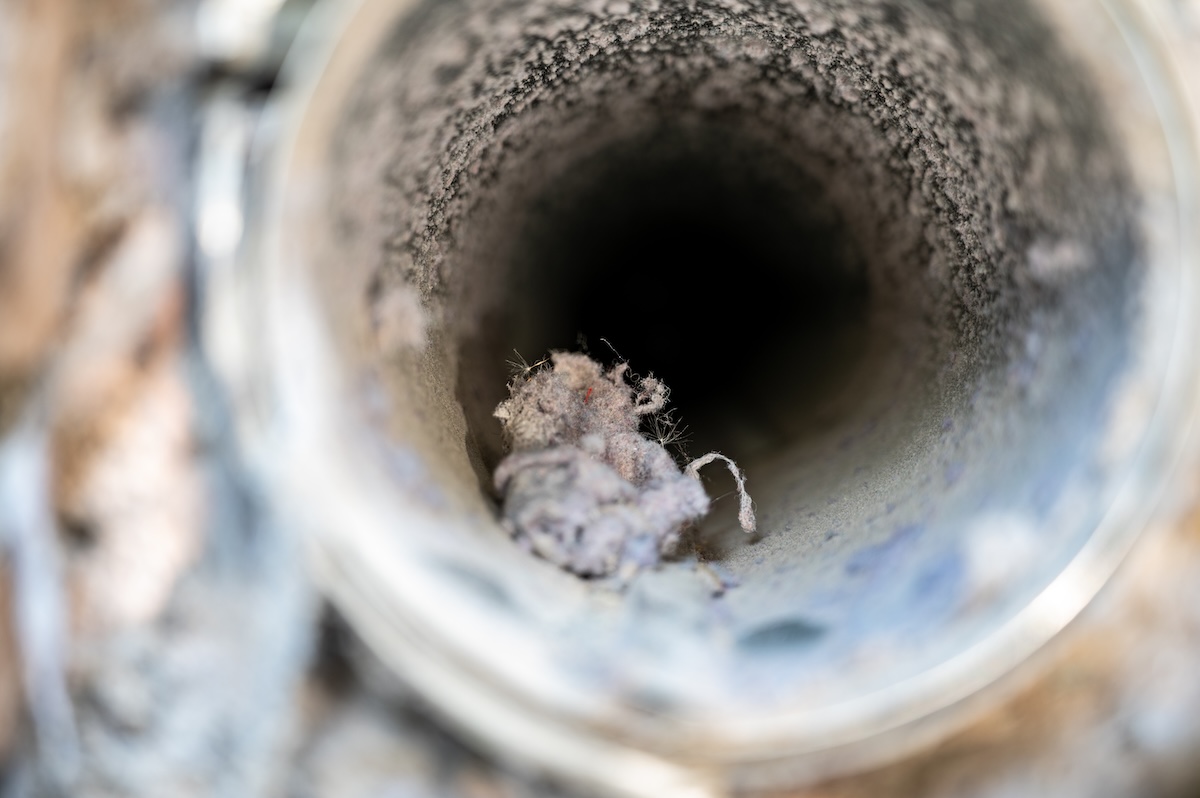
Dryer vents collect lint quickly, especially in homes with large families, long vent runs, or high laundry volume. Even a small amount of obstruction restricts airflow and causes the dryer to overheat. Since lint is extremely flammable, this combination becomes dangerous.
A cleaning kit can help remove basic surface lint, but it won’t match the deeper cleaning power of professional equipment. Homeowners in Hilton Head Island and surrounding areas face added humidity, which can cause lint to clump and adhere to the duct walls more strongly. This makes professional cleaning even more important.
Here are the main reasons to keep dryer vents clear:
- Fire Prevention: Lint buildup is one of the leading causes of appliance-related house fires.
- Reduced Energy Use: Clean vents help your dryer run efficiently and reduce cycle times.
- Improved Appliance Lifespan: Overheating from clogged vents damages heating elements and motors.
- Better Indoor Air Quality: Moist lint can harbor mold, especially in humid climates.
- Lower Repair Costs: Preventing blockage reduces strain on the ventilation system.
5 Essential Tools in a Dryer Vent Cleaning Kit
Dryer vent cleaning kits vary by brand, but most include similar components designed to reach inside the duct and loosen lint. Even though these tools can help with maintenance, they rarely remove packed debris, heavy buildup, or deep blockages.
1. Flexible Rod Extensions
These rods connect together and allow you to push a brush deep into the duct system. Their flexibility helps them pass through mild bends, but tight turns and long horizontal runs often prevent full reach. In many homes—especially older or larger ones—the kit simply cannot reach far enough to fully clean the system.
2. Rotary Brush Head
The brush scrubs lint from the duct walls. Many homeowners attach it to a drill to enhance rotation. The brush helps with light, loose lint, but it struggles with:
- Wet, compacted lint
- Heavy buildup in long vents
- Debris stuck in creases or ridges
Excessive drill speed can also break rods, leaving pieces stuck inside the duct, something professional tools are designed to avoid.
3. Vacuum Adapter
This attachment helps capture some of the loosened lint. However, because most household vacuums lack commercial suction power, much of the lint stays deep inside the duct. A shop vacuum helps but still won’t match professional negative-pressure systems.
4. Lint Trap Brush
This small brush is useful for cleaning below the lint screen. This is one place DIY tools work well, since the area is small and accessible. However, this still only removes a fraction of the danger. The majority of fire risk comes from lint inside the vent, not the trap area.
5. Drill Adapter (Optional)
Using a drill improves scrubbing power but increases risk. Many homeowners unintentionally:
- Spin the rods too fast
- Snap rod connections
- Push lint deeper into the duct instead of pulling it out
Used carefully, it can help loosen surface debris, but it still cannot match professional machines.
How To Use a Dryer Vent Cleaning Kit (Step-by-Step)

Even though kits aren’t as effective as professional cleaning, they can help reduce light buildup. Here’s how to use them safely.
1. Disconnect the Dryer
Unplug the dryer and move it gently away from the wall. Loosen the clamp holding the vent hose and remove the hose. Make sure to examine the connection points—lint often gathers right at the opening.
2. Clean the Lint Trap Housing
Use the lint trap brush to scrub inside the compartment beneath the lint screen. This step helps prevent overheating inside the dryer but does not address the vent line itself.
3. Inspect the Exterior Vent
Go outside and look at the exit vent. Make sure the flap opens freely and isn’t blocked by lint or debris. If there are bird nests or clumps of lint, remove them. Exterior restrictions significantly reduce airflow.
4. Assemble the Rods
Connect the rods until you have the length needed. Ensure each connection clicks or screws tightly so pieces don’t detach inside the duct. If the vent is long or has several turns, this is where DIY kits start to become unreliable.
5. Insert the Brush and Rotate
Slowly push the brush into the duct while rotating clockwise. If using a drill, keep it at low speed. Periodically stop to remove lint and check the rod connections.
If you feel sudden resistance, do not force it. You may be hitting a bend or a blockage too dense for the kit to remove.
6. Vacuum Residual Lint
Use the vacuum to collect lint at the vent opening. A shop vacuum is best, but even then, deeper lint remains untouched unless removed by commercial high-pressure equipment.
7. Reconnect the Dryer
Once finished, reconnect the hose, push the dryer back into place, and run a short air cycle. Check outside to ensure the exterior vent flap opens fully. If airflow seems weak, there may be a blockage the kit cannot reach.
Why Dryer Vent Cleaning Kits Aren’t Very Effective
Although cleaning kits are popular, their limitations make them far less reliable than most homeowners realize. They work for light maintenance but not for full cleaning.
Here are the biggest issues:
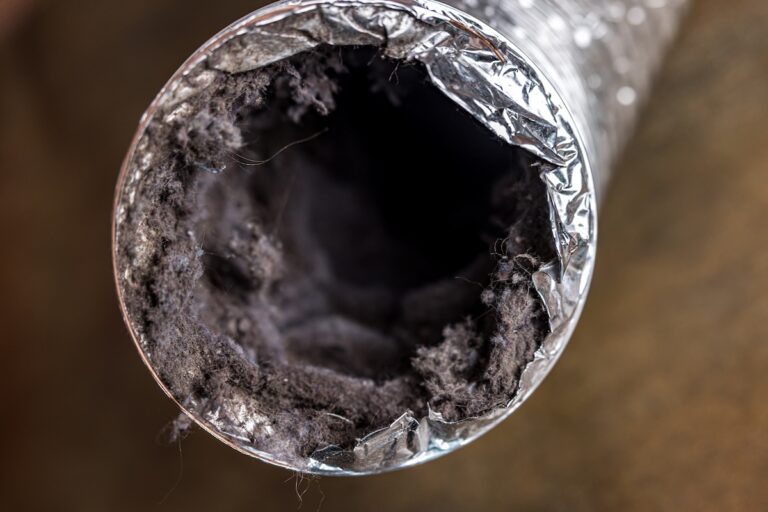
- Limited Reach: Most kits cannot navigate long duct runs, tight bends, or vertical exits commonly found in homes.
- Low Power: Household drills and vacuums cannot match commercial negative-pressure equipment.
- Risk of Rod Breakage: Cheap rods can snap and become lodged inside the vent, requiring professional removal.
- Poor Debris Extraction: Kits mostly loosen lint but rarely extract it fully, leaving compacted debris behind.
- Moisture-Related Lint: Lint mixed with humidity in Hilton Head Island and surrounding areas forms dense clumps that DIY brushes cannot remove.
For these reasons, dryer vent cleaning kits should be used only as supplemental maintenance, not as a replacement for professional service.
Signs You Need More Than a Cleaning Kit
A kit can handle surface lint, but deeper or more dangerous blockages require professional tools. Watch for these signs:
- Burning smells during drying
- Clothes taking multiple cycles to dry
- Hot dryer exterior
- Excessive lint at the exterior vent
- Weak airflow outside
- Visible moisture or mold around the vent
If these symptoms continue after using a cleaning kit, the vent is still clogged.
DIY Kit vs. Professional Cleaning
To understand the difference clearly, here’s a comparison:
| Category | DIY Kit | Professional Cleaning |
| Cost | Low | Moderate |
| Reach | Limited | Full-system access |
| Power | Low suction | High-pressure vacuum systems |
| Safety | Moderate | High, with fire risk reduction |
| Effectiveness | Light maintenance only | Deep cleaning and sanitization |
Professionals use commercial-grade machines that pull lint out with negative pressure instead of just loosening it. They also inspect the system for damage, mold, leaks, and improper installation.
Extra Tips for Dryer Vent Safety and Efficiency
- Empty the lint screen after every load.
- Avoid plastic or foil ducts—they trap lint more easily.
- Ensure the exterior flap opens fully.
- Never push the dryer too close to the wall.
- Schedule annual professional cleaning to ensure the entire system stays clear.

Protect Your Home With Professional Dryer Vent Care
A dryer vent cleaning kit can help reduce surface lint, but it is not a complete solution. At best, it’s a maintenance tool. At worst, it gives homeowners false confidence while deep blockages remain hidden. When airflow still seems weak or drying times continue to increase, professional cleaning is the safest and most effective option.
Pro Shine Cleaning proudly serves Hilton Head Island and surrounding areas with same- or next-day service, natural cleaning products, and detailed inspections that guarantee long-lasting results. Their team uses high-powered equipment designed to remove lint that DIY kits cannot reach.
To schedule a professional dryer vent cleaning or request a free inspection, contact us today. Pro Shine Cleaning is here to help keep your home safe, efficient, and protected year-round.
Clean Air Is Just A Call Away!