
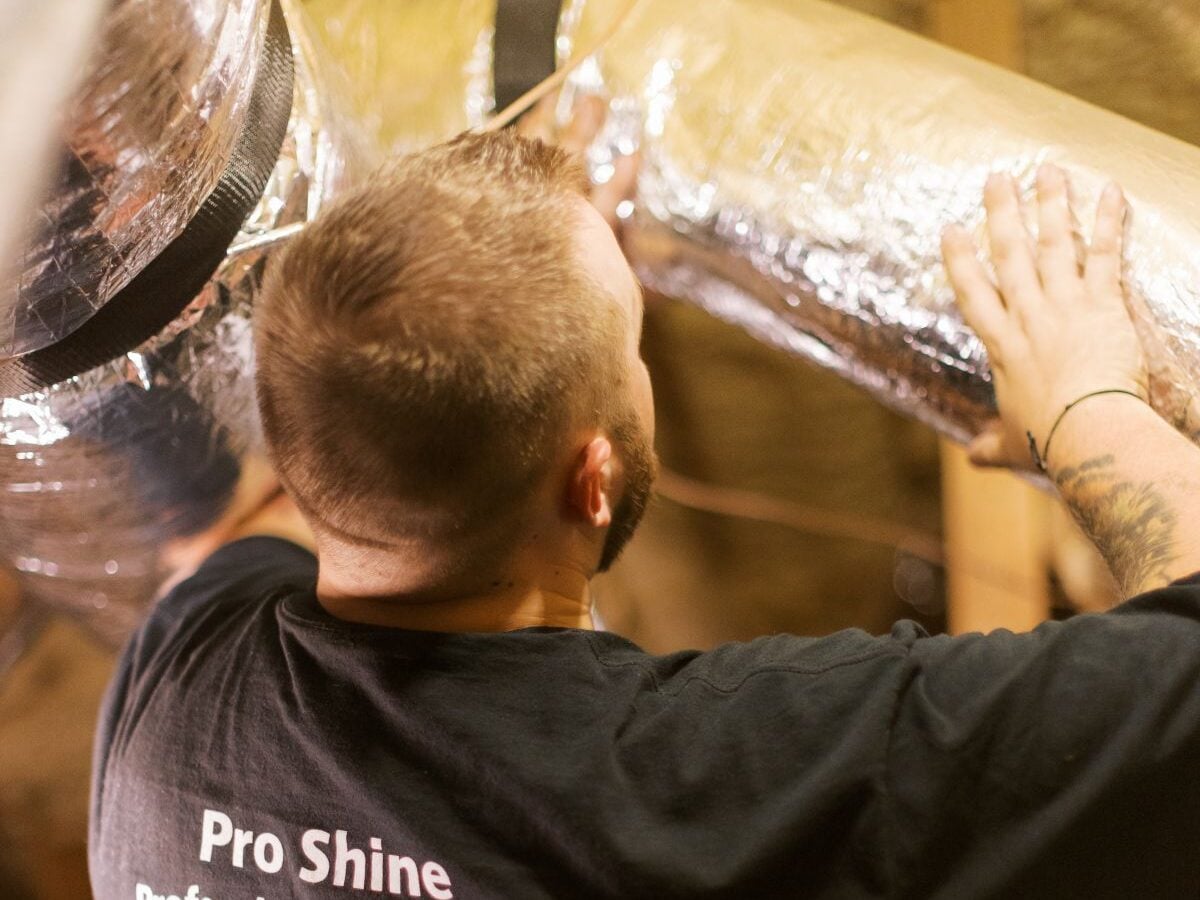
Duct Wrap Installation: 8 Tips For Better HVAC Performance
The insulation wrapped around your home’s ductwork does more than most homeowners ever consider. Duct wrap installation done correctly locks conditioned air at the temperature your HVAC system set it to, all the way from the air handler to the vent. Done incorrectly or allowed to degrade without replacement, it becomes the reason your system works harder, costs more to run, and delivers less comfort than it should. Learning how properly installed duct insulation supports long-term HVAC efficiency is where better home performance begins.
In this guide, you will learn:
- Why duct wrap installation quality directly affects your HVAC system’s energy efficiency and output
- 8 practical duct insulation tips for achieving better HVAC performance from your existing system
- The most common duct wrap installation mistakes that quietly reduce energy savings over time
- How R-value, vapor barrier orientation, and foil tape sealing affect insulated ductwork performance
- When existing duct insulation should be repaired versus fully replaced
- When professional duct rewrapping delivers results that DIY installation cannot replicate
Why Duct Wrap Installation Directly Affects HVAC Energy Efficiency

Most homeowners focus their HVAC attention on the equipment itself: the furnace, the air conditioner, the thermostat. But the duct system connecting all of that equipment to the rooms in your home is equally responsible for the energy efficiency and comfort you actually experience. The duct insulation wrapped around those air ducts is what determines whether the conditioned air your system produces actually arrives where it is intended, at the temperature it was set to, without significant thermal loss along the way.
In Hilton Head Island and surrounding areas, where summer heat is intense and attic temperatures can climb well above 130 degrees Fahrenheit, poorly installed or degraded duct wrap means cool supply air is gaining heat before it ever reaches a single vent. The HVAC system compensates by running longer and more frequently, raising your energy bills and accelerating wear on equipment that should last significantly longer with proper duct insulation in place. Here is why getting duct wrap installation right matters from the start:
- Energy Efficiency From Every Cycle: Every degree of thermal loss in the duct run is a degree the air handler must compensate for. Proper duct wrap installation eliminates that loss and allows your HVAC system to meet its thermostat setpoint in fewer runtime hours, directly reducing electricity and gas consumption and improving overall energy efficiency.
- Consistent Comfort in Every Room: Rooms at the end of long duct runs are most vulnerable to temperature inconsistency when duct insulation is poor. Correctly installed duct wrap ensures the air traveling through those longer runs maintains its target temperature, delivering uniform comfort throughout the home rather than dramatic differences between rooms.
- Condensation and Moisture Prevention: In humid climates, the temperature difference between cool supply air inside the air duct and warm moist attic air outside it creates condensation on duct surfaces when insulation is absent or compromised. This moisture leads to mold growth, structural damage around the ductwork, and deterioration of the duct material itself.
- Extended HVAC System Lifespan: An HVAC system that is not compensating for duct-level thermal loss operates within its designed parameters, reducing cumulative wear on the compressor, heat exchanger, blower motor, and all associated mechanical components. Proper duct wrap installation is one of the most cost-effective ways to extend the service life of expensive HVAC equipment.
- Indoor Air Quality Protection: Degraded duct insulation that allows moisture to reach air duct surfaces creates the exact conditions that mold and bacteria require to establish themselves inside the duct system. Once present, the HVAC system distributes biological contaminants through the home with every cycle. Effective duct wrap installation prevents this chain of events before it begins.
8 Duct Insulation Tips for Better HVAC Performance
Whether you are overseeing a professional duct rewrapping project or trying to understand what the job should involve, these eight duct insulation tips represent the difference between a duct wrap installation that performs as expected and one that fails within a few years. Each one addresses a specific decision point that has a direct impact on the long-term energy efficiency of the installation.
1. Choose the Right R-Value Duct Insulation for Your Climate
R-value measures how effectively duct insulation resists heat transfer, and choosing the correct R-value for your specific situation is the most fundamental decision in any duct wrap installation project. The Department of Energy recommends a minimum of R-6 for air ducts in unconditioned spaces like attics and crawl spaces in most climates, and R-8 or higher for hot and humid regions where the temperature differential between the attic environment and the conditioned air inside the duct is most extreme.
- Air ducts running through conditioned spaces like interior walls or finished mechanical rooms have lower R-value requirements because the surrounding temperature differential is minimal
- Attic duct wrap in hot and humid coastal climates typically requires R-8 duct insulation to manage the extreme summer heat loads that attic spaces experience for extended periods
- Higher R-value duct insulation costs more upfront but delivers proportionally greater energy savings over its service life, making it the smarter long-term investment in high-heat climates
2. Prepare and Clean Air Ducts Before Applying Duct Wrap
Duct insulation adheres and performs best when applied to a clean, dry air duct surface. Grease, dust, existing adhesive residue, and moisture on the duct exterior all prevent new duct wrap from seating properly and can create gaps that undermine the thermal barrier from day one. Before any duct wrap installation begins, accessible air duct surfaces should be wiped clean of debris and confirmed to be fully dry.
- Pay particular attention to air duct joints and seams, where any existing duct tape residue or debris can prevent the new duct insulation from lying flat and sealing correctly
- Any visible corrosion on metal air duct sections should be addressed before wrapping, as applying duct insulation over corroded metal traps moisture against the duct surface and accelerates further deterioration
- Flex duct sections should be inspected for tears, punctures, or collapsed sections before wrapping, as insulating over a compromised inner liner produces insulated ductwork that looks complete but performs poorly
3. Overlap All Duct Wrap Seams by a Minimum of Two Inches
One of the most common and consequential duct wrap installation errors is butting insulation seams together edge to edge rather than overlapping them. A seam with no overlap is a gap in the thermal barrier, and in a humid attic environment, it is also a point where moisture reaches the air duct surface. Every seam in the duct wrap installation should overlap by at least two inches to maintain a continuous duct insulation layer across the entire duct surface.
- At 90-degree bends and transitions, the geometry of the air duct makes overlapping more challenging, but these are precisely the locations where gaps are most likely to form and where careful overlapping matters most for energy efficiency
- Overlapping seams also make the duct insulation more forgiving of minor shifts in position over time, which occurs in attic installations as the duct wrap responds to seasonal temperature cycling
4. Seal Every Duct Wrap Seam with Foil Tape for a Complete Vapor Barrier
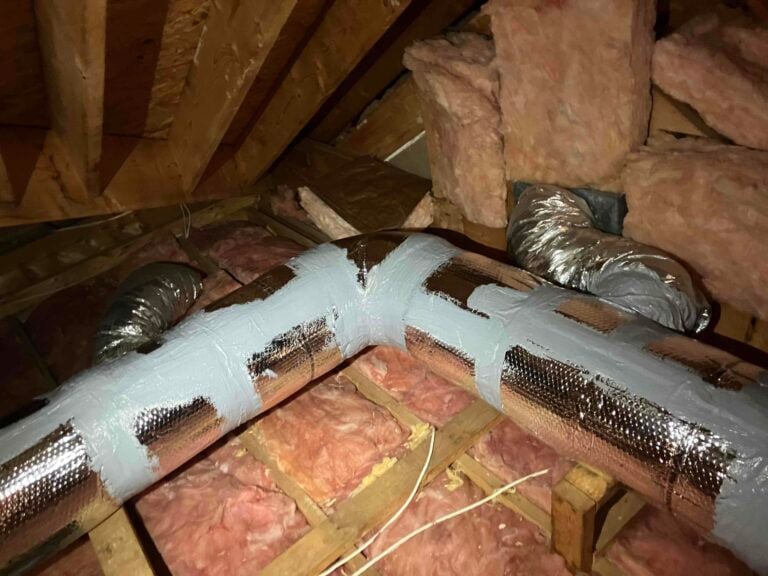
The facing on fiberglass duct insulation, typically a foil-scrim-kraft (FSK) or vinyl material, must be sealed at every seam and edge to complete the vapor barrier that prevents moisture from reaching the insulation and the air duct surface beneath it. Standard duct tape is not the right material for this job. It degrades rapidly under the temperature extremes present in attic duct wrap installations, losing adhesion within months and leaving seams exposed.
Foil tape rated for HVAC applications maintains a durable, airtight seal under prolonged heat exposure and is the correct fastening material for any duct wrap installation where long-term energy efficiency is the goal. Sealing every seam and overlap point with proper foil tape is not optional. It is what completes the vapor barrier and makes the duct insulation system fully effective.
5. Handle Attic Duct Wrap at Bends, Elbows, and Transitions With Extra Care

Straight air duct sections are straightforward to wrap, but bends, elbows, transitions, and T-fittings are where most duct wrap installations develop their first performance failures. These shapes require the duct insulation to be cut, fitted, and overlapped in ways that maintain continuous coverage without compressing the insulation material or allowing the duct wrap to pull away from the air duct surface.
- Compress duct insulation as little as possible at bends, as compressed duct wrap has a significantly reduced effective R-value compared to insulation installed at its full designed thickness
- Use multiple smaller pieces of duct insulation at complex transition fittings rather than stretching a single piece around the full geometry, as stretching causes thinning that reduces thermal performance and energy efficiency
- Seal every cut edge and every seam at transitions with foil tape before moving on, as these locations carry the highest risk of vapor barrier failure if the duct insulation facing is not continuous
6. Maintain the Correct Vapor Barrier Orientation for Insulated Ductwork
Fiberglass duct wrap has a facing material on one side that serves as the vapor barrier for the entire installation. Correct vapor barrier orientation is particularly critical in humid climates where moisture drive is a persistent concern. In most residential duct wrap applications and specifically in hot humid climates, the vapor barrier facing should be installed on the outside of the duct insulation, facing away from the air duct surface and toward the surrounding unconditioned space.
Installing the vapor barrier facing in the wrong orientation places it between the duct insulation and the air duct rather than between the insulation and the humid exterior environment. This allows moisture from the surrounding attic air to penetrate and accumulate within the duct insulation itself, reducing its R-value and creating the conditions for mold growth inside the insulation layer. In Hilton Head Island and surrounding areas, where moisture pressure from the outdoor environment is persistently high, vapor barrier orientation is one of the duct wrap installation decisions with the greatest impact on how long the insulated ductwork performs effectively.
7. Support Flex Duct Properly to Preserve R-Value and Prevent Sag
In homes where the air duct system uses flexible duct in attic or crawl space installations, the duct insulation built into the flex duct construction can be compromised by improper support. Flex duct that sags between support points bends under its own weight, and at those bends the inner liner and surrounding duct insulation are compressed, reducing the effective R-value at every sag point.
- Flex duct should be supported every four feet at minimum using proper hangers that cradle the insulated ductwork without constricting it
- The inner liner of flex duct should be kept fully extended between support points rather than allowed to hang loosely, which reduces both airflow restriction and duct insulation compression
- Where flex duct transitions to rigid air duct sections, secure the connection with a draw band and foil tape before wrapping to ensure neither the airflow connection nor the duct insulation continuity is interrupted at the joint
8. Inspect the Full Duct Wrap Installation Before Closing Attic Access
Once duct wrap installation is complete, many homeowners assume the job is done as soon as the attic hatch or crawl space access panel is replaced. But a final walk of the complete installation before sealing access areas is the step that catches the gaps, unglued foil tape seams, and missed air duct sections that would otherwise go undetected until they show up as higher energy bills or comfort problems months later.
Check every duct insulation seam for foil tape adhesion, confirm that no sections of bare air duct are visible, and verify that all transitions and fittings are fully covered with duct wrap. This final inspection step ensures the duct wrap installation investment actually delivers the energy efficiency and HVAC performance improvements it is designed to provide.
Common Duct Wrap Installation Mistakes That Cost You Energy Savings
Knowing what goes wrong in duct wrap installation is as valuable as knowing what to do correctly. These are the most frequently encountered duct insulation errors in residential projects, and each one quietly reduces the energy savings and HVAC performance gains that proper installation should deliver.
- Using the Wrong R-Value Duct Insulation for the Location: Installing R-4 duct wrap in an attic that requires R-8 produces insulated ductwork that looks complete but performs at half the thermal efficiency needed. The HVAC system compensates with more frequent cycling, and the homeowner never identifies the duct insulation as the source of the lost energy efficiency.
- Skipping Foil Tape at Duct Wrap Seams: Duct insulation held together with only the friction of overlapping material and no foil tape at the vapor barrier facing will open over time as temperatures cycle. These gaps allow direct contact between humid attic air and the air duct surface, creating condensation points and undermining the vapor barrier across the full installation.
- Compressing Duct Insulation at Supports and Bends: Zip ties and hangers that grip the duct wrap tightly create points of compression that can reduce local R-value to near zero. Using wide hangers designed for insulated ductwork prevents this and maintains the full duct insulation thickness at every support point.
- Wrapping Over Damaged Air Duct Sections: Applying new duct insulation over a section that has a disconnected joint, a punctured inner liner, or a separated fitting produces insulated ductwork that looks finished but allows conditioned air to escape into the surrounding unconditioned space. Any structural air duct issues must be repaired before duct wrap installation, not concealed by it.
- Leaving Duct Transitions and Fittings Without Insulation: The elbows, boots, and transition fittings connecting air duct sections account for a significant portion of the total duct surface area. Leaving them without duct insulation while wrapping the straight sections in between creates thermal bridges throughout the installation that eliminate a meaningful share of the potential energy savings.
- Not Planning Around Future Air Duct Access Needs: Duct wrap applied over access panels or mechanical connections that will need to be reached again creates a situation where any future air duct maintenance requires cutting and replacing insulation. Planning the duct wrap installation around known access requirements prevents unnecessary rework and added cost.
When to Repair vs. Replace Your Existing Duct Insulation

Not every duct insulation situation calls for a full rewrapping project. Understanding the threshold between conditions that can be repaired and those that warrant complete duct wrap replacement helps homeowners make the right call before committing to materials and labor.
When Targeted Duct Wrap Repair Restores Energy Efficiency
Minor physical damage limited to a single short section of duct insulation, such as a small area where the vapor barrier facing has separated, a localized tear in the outer jacket of a flex duct section, or a foil tape seam that has lifted at one fitting, can often be addressed effectively with proper foil tape and supplemental duct wrap material. If the overall installation is structurally sound and the majority of the insulated ductwork is performing correctly, targeted repairs are a cost-effective approach to restoring energy efficiency without a full project.
When Full Duct Insulation Replacement Delivers Better Long-Term Energy Savings
| Duct Wrap Condition | Repair Adequate? | Recommended Action |
| Single lifted foil tape seam at one fitting | Yes | Reseal with foil tape |
| Isolated facing damage on one short section | Yes | Patch with foil tape and insulation strip |
| Moisture saturation across multiple duct sections | No | Full duct insulation replacement |
| Mold growth on or inside duct wrap insulation | No | Full replacement with antimicrobial treatment |
| Compressed duct insulation throughout the attic system | No | Full rewrapping to restore R-value |
| Installation age over 15 years with multiple failure points | No | Full duct wrap installation |
| Uninsulated transitions and fittings throughout the system | No | Full rewrapping more cost-effective than patching |
When degraded duct insulation extends beyond a few isolated points, a complete professional duct wrap installation almost always delivers better long-term energy savings than patching a system that will continue developing new failure points. For homeowners in Hilton Head Island and surrounding areas with aging insulated ductwork, a professional assessment is the most reliable way to determine which approach fits the actual condition of the air duct system.
Get Your Duct Wrap Installed Right and Protect Your HVAC System’s Performance
Duct wrap installation is a deceptively technical job. The materials are familiar and the concept is simple, but decisions around R-value selection, vapor barrier orientation, foil tape sealing, and transition coverage have a compounding impact on how well the duct insulation performs and how much energy efficiency it actually delivers over its service life. Insulated ductwork that looks complete from a distance can be quietly failing at every seam, every transition, and every bend where the details were not handled correctly.
Pro Shine Professional Cleaning provides professional duct wrap installation and rewrapping services for homeowners throughout Hilton Head Island and surrounding areas who want the job done correctly the first time and built to last. Our team inspects the full air duct system before any duct insulation is applied, addresses any structural issues that need to be resolved first, and completes the installation with high-quality materials and the standards your HVAC system’s energy efficiency and long-term performance depend on. If your duct wrap is aging, damaged, or was never installed correctly, contact us today and let us assess your system and build a plan that delivers the energy savings and comfort your home deserves.
Clean Air Is Just A Call Away!